Cleaning construction dust safely and thoroughly requires proper tools and techniques. Start by wearing dust masks and protective eyewear. Use a HEPA vacuum to capture fine particles, and microfiber cloths for surfaces. Ventilate the area by opening windows and sealing off spaces to contain dust. Clean from top to bottom, addressing ceilings, walls, and floors specifically based on their material type. Follow these steps, and you’ll find helpful tips and additional cleaning strategies ahead.
Table of Contents
What Makes Construction Dust So Hard to Clean?
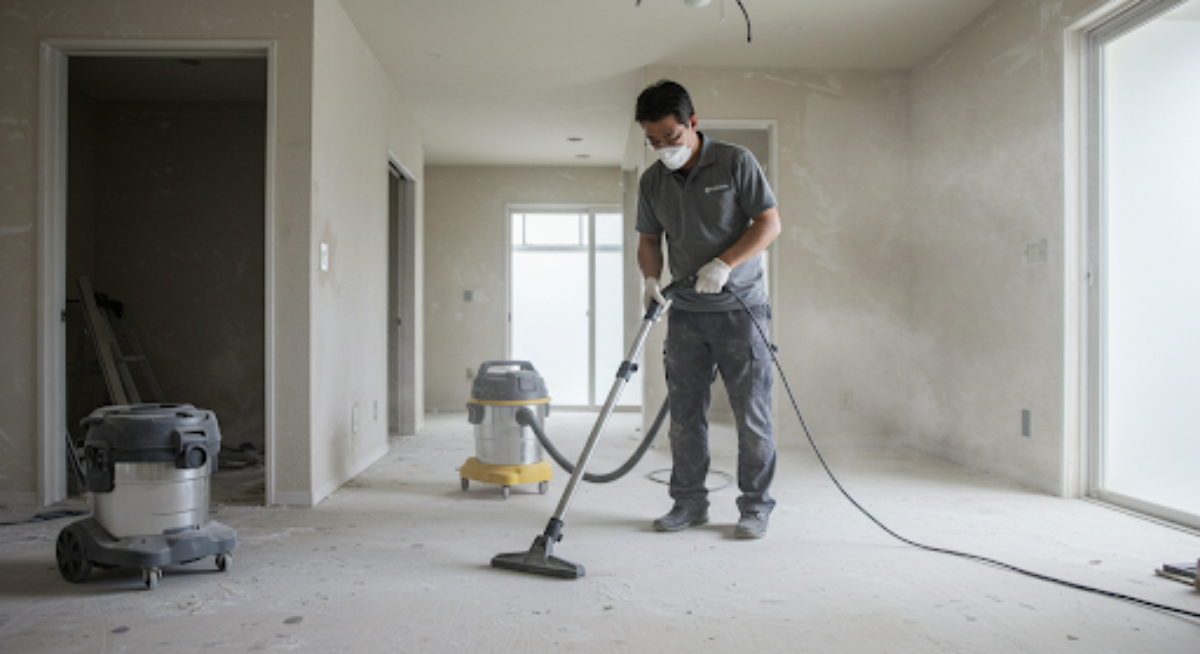
Cleaning construction dust isn’t just about wiping surfaces; it’s complicated by the type of dust generated during renovations versus new builds.
Each type carries different particles that can pose health risks if not addressed properly. Understanding these differences is key to effectively tackling the cleanup and ensuring a safe environment.
The difference between renovation vs. new build dust
While both renovation and new build projects generate dust, the composition and challenges of cleaning each type differ considerably.
Renovation dust often contains debris from old materials, like drywall, wood, and paint, making its dust composition more diverse and potentially hazardous. You might find fine particles that cling to surfaces, creating a stubborn mess.
In contrast, new build dust typically consists of fresh materials, such as sawdust and concrete particles, which can be easier to manage but still require thorough cleaning.
Understanding these differences helps you tailor your cleaning approach, ensuring you effectively serve those who’ll occupy the space.
Health Risks of Construction Dust in the Home
Construction dust poses serious health risks in your home, and understanding what makes it so difficult to clean is vital. This dust often contains harmful particles like silica, asbestos, and wood fibers that can lead to respiratory issues, skin irritation, and other health problems.
Even a small amount of dust can trigger allergies or asthma attacks.
To protect yourself and others, it’s important to take health precautions when tackling construction dust. Always wear a mask, use protective eyewear, and guarantee proper ventilation while cleaning.
Regularly changing your air filters can also help reduce dust accumulation.
Tools & Supplies You’ll Actually Need (and Why)
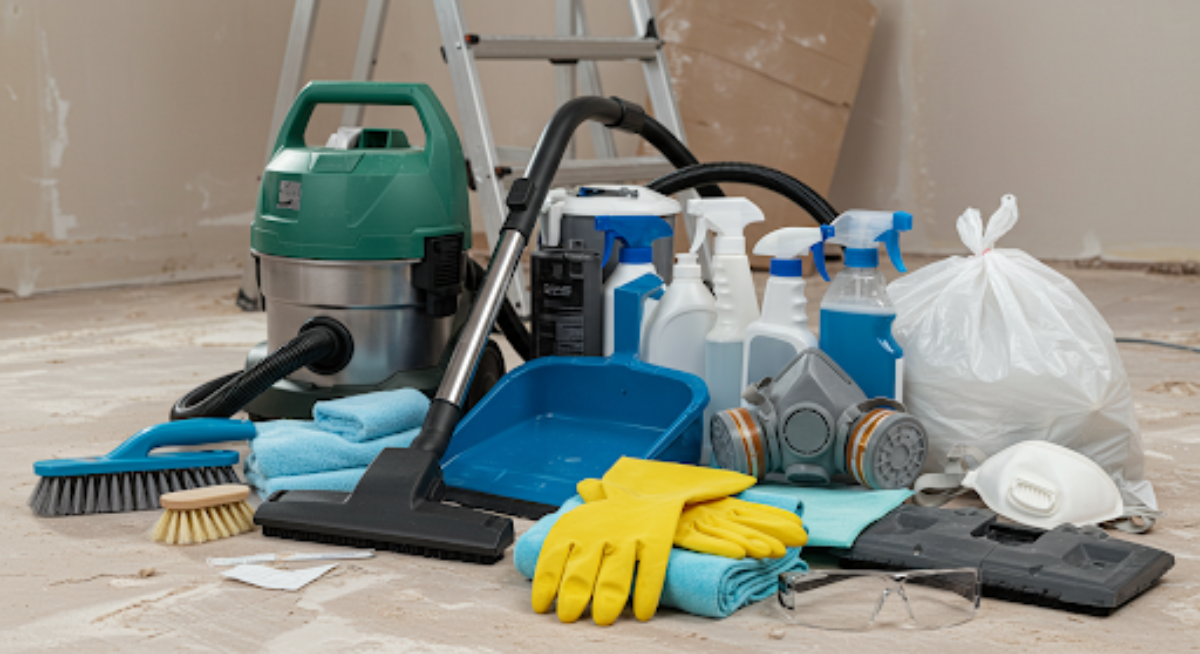
When tackling construction dust, having the right tools and supplies makes all the difference in achieving a spotless, safe finish. Here are the essentials I recommend for a truly thorough post-construction clean:
- HEPA Vacuum
Traps ultra-fine dust particles that regular vacuums miss—critical for keeping dust from resettling in your space. - Microfiber Cloths
These attract and lock in dust without just pushing it around, making them ideal for all surfaces from countertops to baseboards. - Dust Masks or Respirators
Protect your lungs from fine particles, especially during the initial stages when dust is most concentrated. - Plastic Sheeting & Painter’s Tape
Use these to seal off clean areas from dusty zones. This prevents the mess from spreading and saves time later. - Air Purifier (with HEPA filter)
Running one during and after cleanup helps remove residual airborne particles for better indoor air quality. - Broom & Dustpan
Useful for collecting larger debris before switching to your vacuum. - Mop & Bucket
After vacuuming, a damp mop helps pick up the remaining dust, especially on hard floors. - Extension Duster
Perfect for reaching crown molding, ceiling fans, and high vents where dust loves to settle. - Protective Gloves
Keeps your hands safe from splinters, screws, and harsh cleaners.
Equipping yourself with these tools doesn’t just make the job easier—it protects your health and ensures your space is truly ready for use.
Step-by-Step Construction Dust Cleaning Guide
Cleaning up construction dust doesn’t have to be overwhelming.
Start by ventilating your space and sealing off areas to keep dust from spreading.
Once you’ve got that covered, you can tackle each step methodically for a thorough clean.
Step 1: Ventilate and Seal Off Areas
To effectively tackle construction dust, start by ensuring proper ventilation and sealing off areas you’ll be working in. This step is essential for effective Dust Management, as it keeps dust from spreading to untouched spaces.
Here’s how to do it:
- Open windows and doors: Allow fresh air to flow through, reducing dust concentration.
- Use fans: Position fans to blow dust outdoors, enhancing airflow and circulation.
- Seal doorways and vents: Use plastic sheeting or painter’s tape to block off areas, preventing dust from escaping.
Step 2: Start at the Top — Ceilings, Fans, and Lights
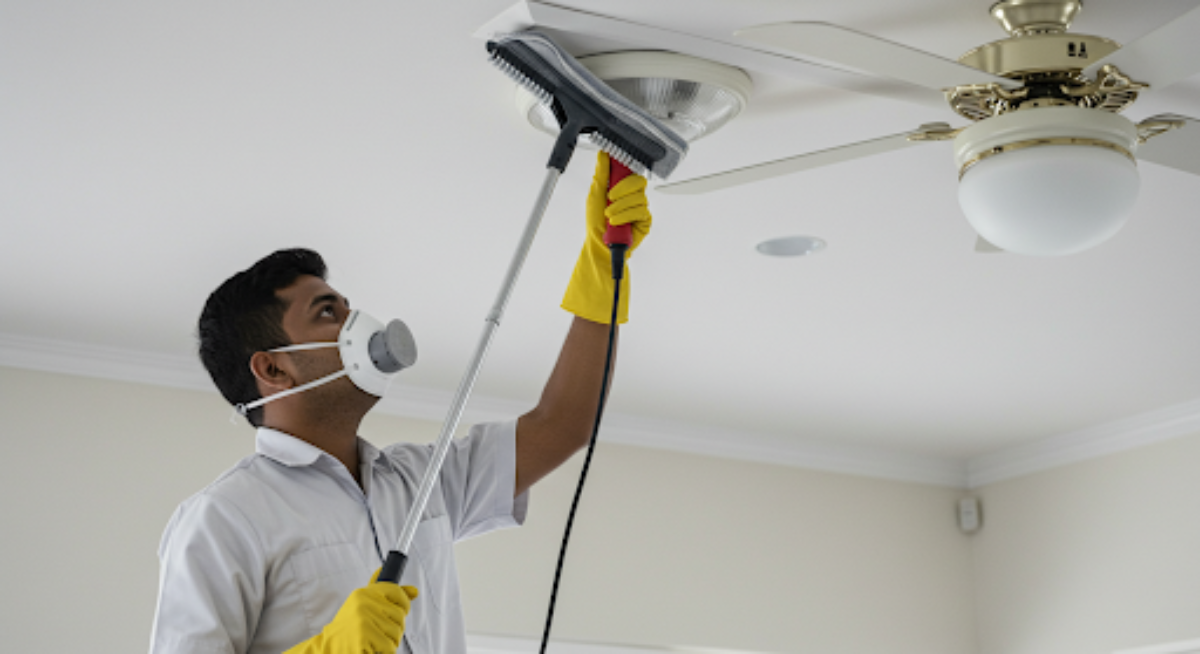
As you tackle the cleanup, starting at the top makes the most sense since dust tends to settle downwards.
Begin by dusting your ceilings with a microfiber cloth or an extendable duster to capture that stubborn construction dust. Don’t forget your ceiling fans; turn them off and wipe each blade to avoid sending dust flying.
Next, tackle the lights—use a damp cloth to remove any dust buildup carefully. These Dust Strategies help maintain a clean environment and guarantee that you won’t need to revisit these areas later.
Step 3: Clean the Walls and Baseboards
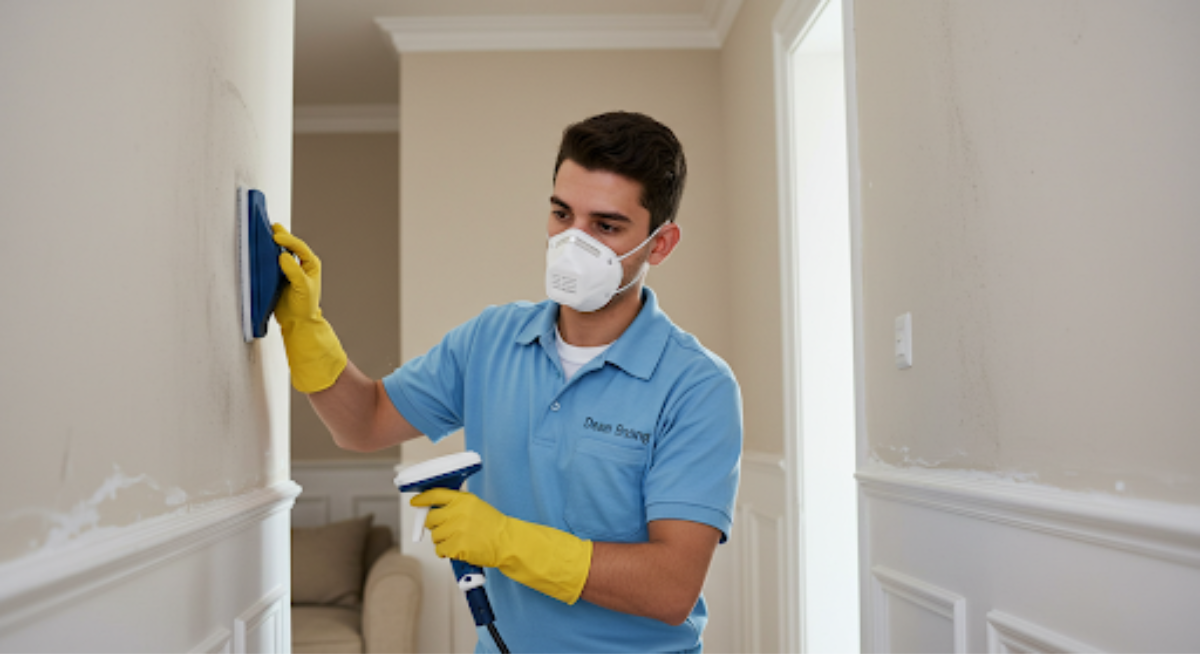
Once you’ve tackled the ceilings, it’s time to focus on the walls and baseboards—dust magnets that can make a room feel dull if overlooked. Post-construction dust often clings to vertical surfaces, especially in corners and along trim.
Here’s how to clean them without damaging your finishes:
- Dust First
Start by gently removing loose dust using a microfiber cloth, dry mop, or soft-bristle broom. Don’t forget the corners, edges, and behind doors—these spots collect the most buildup. - Wash the Surfaces
Mix a few drops of mild dish soap into a bucket of warm water. Lightly dampen a clean cloth or sponge and wipe down the walls and baseboards. Avoid oversaturating, especially if you’re cleaning painted drywall or wood trim. Tip: Test a small area first to make sure your paint or finish won’t react to the detergent. - Dry Thoroughly
Use a clean, dry cloth to remove moisture right away. This prevents water damage, paint bubbling, or streaks—especially important on flat or matte finishes.
By taking the time to clean these often-overlooked surfaces, you’ll restore a polished look and create a truly welcoming space.
Step 4: Tackle Windows, Sills, and Blinds
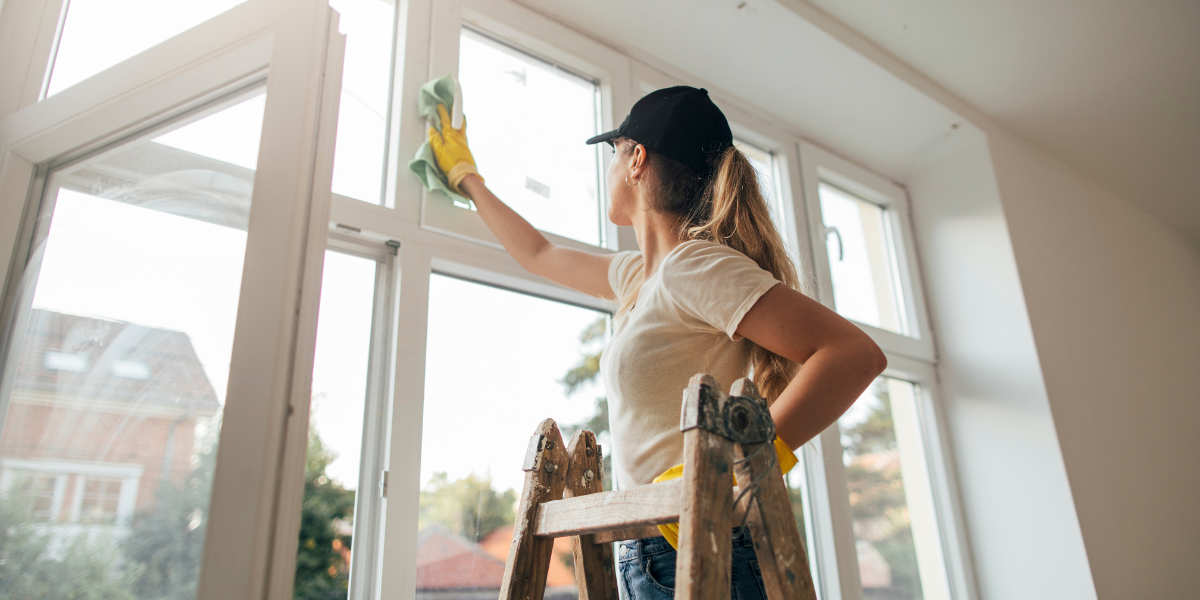
While cleaning construction dust, tackling the windows, sills, and blinds is essential for achieving a truly spotless finish.
Start by removing any window treatments, such as curtains or shades, to prevent dust from spreading. Next, use a damp cloth to wipe down the window sills, ensuring you catch any hidden debris.
For the glass, a gentle glass cleaner will effectively eliminate smudges and dust, leaving your windows sparkling.
Don’t forget to clean the blinds! A microfiber cloth or a damp sponge works wonders to capture dust between slats.
If your window treatments are washable, give them a good clean too. This way, you’ll provide a fresh and inviting environment for anyone who enters.
Step 5: Clean All Flooring Types (Surface-Specific)
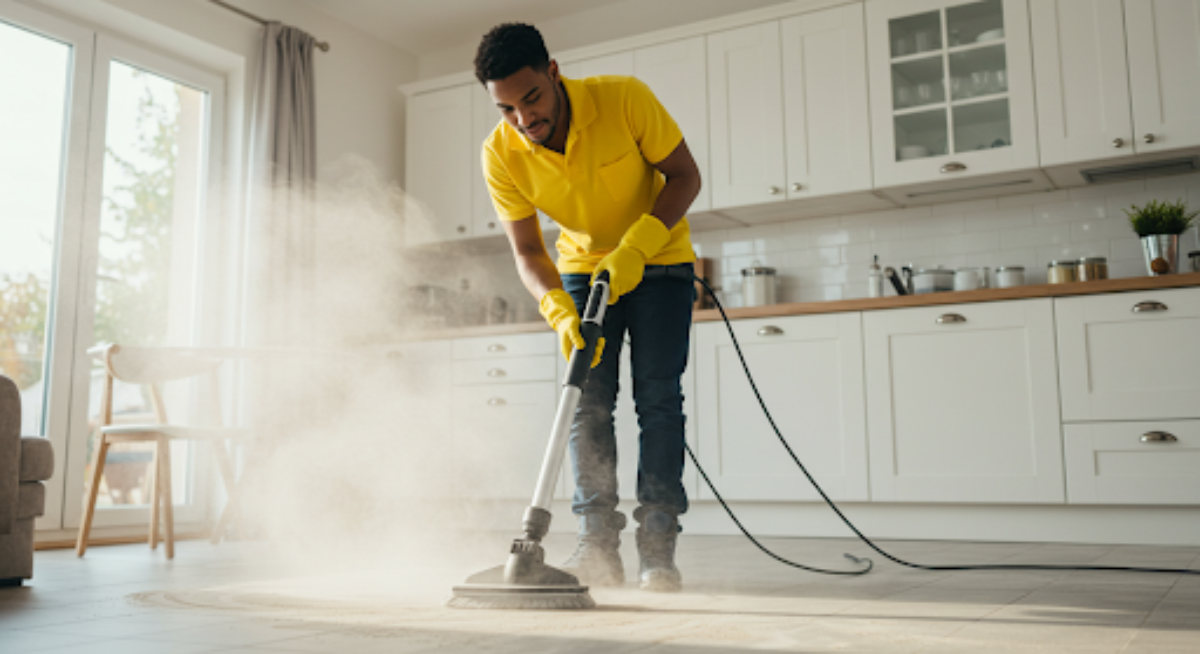
Different flooring materials require specific cleaning methods to safely and thoroughly remove construction dust. Here’s how to handle each type with care.
Hardwood Floors
Dust and debris easily settle into the seams and grain of hardwood. Follow these steps to clean effectively without damaging the finish:
- Sweep or Vacuum using a soft-bristle broom or a vacuum with a hardwood-safe attachment.
- Damp Mop with a microfiber mop lightly moistened with water (avoid soaking the wood).
- Apply a Wood-Safe Cleaner to restore shine and protect the surface.
Tip: Avoid abrasive tools and excessive moisture, which can damage the finish.
Tile & Laminate Flooring
These surfaces are more durable but still require proper care to remove fine dust from seams and grout lines.
Cleaning Steps
| Step | Description |
|---|---|
| Sweep or Vacuum | Use a broom or vacuum with a hard floor setting |
| Damp Mop | Mop with a gentle, pH-neutral cleaner |
| Dry Mop | Use a clean, dry mop to prevent streaking or residue |
| Regular Maintenance | Add entry mats and clean high-traffic areas often |
Tip: Avoid steam cleaners on laminate, as heat and moisture can cause warping.
Carpet & Rugs
Carpets trap construction dust deep in their fibers, requiring more thorough cleaning.
- Vacuum Thoroughly, going over each section multiple times from different directions.
- Deep Clean using a carpet or steam cleaner to extract embedded dust and residue.
- Apply a Protective Treatment to help prevent future dust buildup.
Tip: If lingering dust odors remain, sprinkle baking soda, let it sit, then vacuum again.
Concrete or Unfinished Floors
Unfinished surfaces can hold onto fine particles in their pores and cracks.
Cleaning Steps
| Task | Tools Needed |
|---|---|
| Sweep or Vacuum | Push broom or shop vac |
| Mop with Clean Water | Mop and bucket |
| Apply Concrete Cleaner | Use a pH-balanced formula designed for concrete |
| Dry the Surface | Towels or dry mop |
| Inspect for Damage | Visual check for cracks or residue |
Tip: Avoid acidic or harsh cleaners unless the concrete is sealed and rated for that type of solution.
Step 6: Dust Furniture, Décor, and Electronics
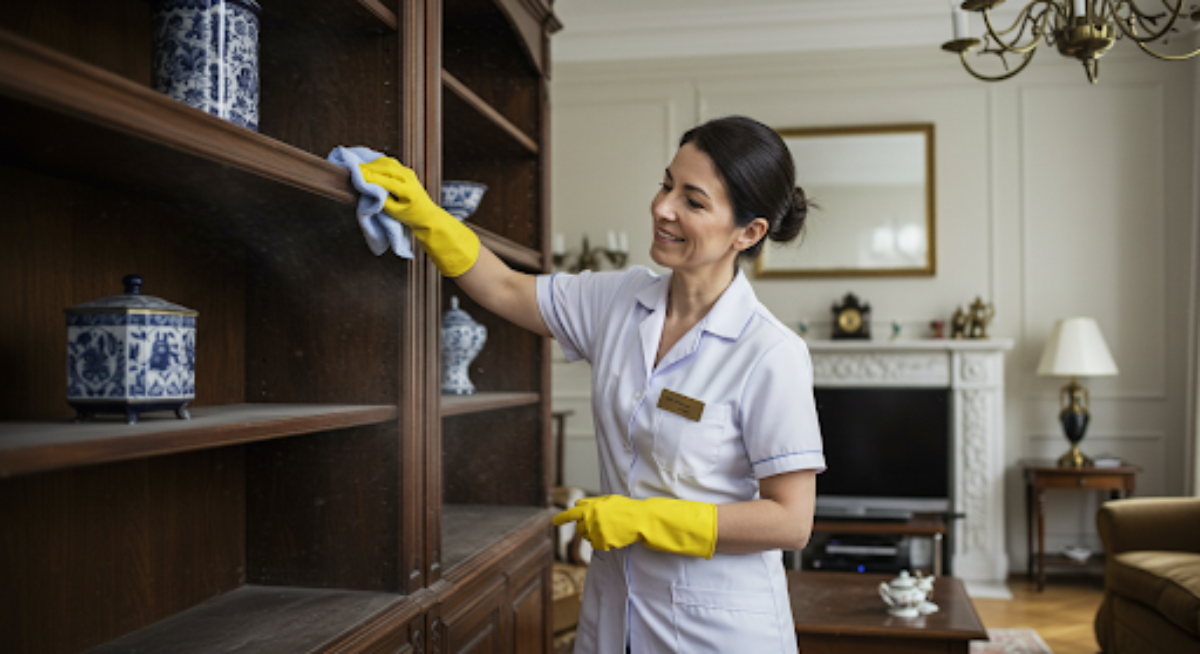
After cleaning floors and walls, it’s time to focus on furniture, décor, and electronics—often-overlooked surfaces that collect fine construction dust. Neglecting these areas can make even the cleanest space feel unfinished.
Follow these tips to ensure thorough and safe cleaning:
- Use a Microfiber Cloth
Microfiber traps dust instead of spreading it, making it ideal for delicate surfaces like furniture finishes and artwork. - Start High, Work Low
Always begin with higher surfaces such as shelves, frames, and wall-mounted décor. This prevents dust from resettling on cleaned areas below. - Clean Electronics with Care
Wipe screens, keyboards, and other devices with a dry microfiber cloth. Avoid using spray cleaners directly on electronics, as moisture can damage internal components. For stubborn buildup, use an electronics-safe cleaning solution applied to the cloth—not the device.
Taking time to detail these surfaces not only boosts visual appeal but also improves air quality and protects your belongings from dust damage.
Step 7: Final Touch: Clean the Air

To guarantee your newly renovated space feels fresh and inviting, don’t overlook the importance of cleaning the air. Start by opening windows to promote ventilation, allowing fresh air to circulate and push out dust particles lingering in the environment.
Next, consider using an air purifier equipped with HEPA filters to effectively trap remaining dust and allergens, enhancing your air quality. If you have a ceiling fan, run it on low to help distribute the clean air throughout your space.
Finally, don’t forget about houseplants—they can naturally improve air quality while adding a touch of warmth. By taking these steps, you’ll create a healthier, more welcoming atmosphere for everyone who enters your home.
How to Clean Specific Surfaces or Rooms
Cleaning construction dust from specific surfaces and rooms can feel overwhelming, but it doesn’t have to be.
You’ll want to tackle each area with a tailored approach, whether it’s your kitchen, bathroom, or living room.
Let’s break down the best methods for ensuring every space in your home sparkles after renovations.
Kitchens and Appliances
While tackling construction dust in your kitchen, it’s essential to focus on high-touch surfaces and appliances that often collect grime.
Start with appliance protection to guarantee your devices are safe from scratches or damage during cleaning. Here’s a quick guide to help you:
- Wipe Down Surfaces: Use a damp microfiber cloth to remove dust from countertops and cabinet faces.
- Clean Appliances: Gently vacuum any dust from your refrigerator, oven, and dishwasher, then wipe with a gentle cleaner.
- Focus on Details: Don’t forget knobs, handles, and light switches—these spots can harbor dust and grime.
Bathrooms
After tackling the kitchen, it’s time to turn your attention to the bathroom, where construction dust can settle in hard-to-reach areas. Start by gathering your Bathroom Essentials: microfiber cloths, a vacuum with a brush attachment, and an all-purpose cleaner.
| Surface | Cleaning Method |
|---|---|
| Countertops | Wipe with a damp cloth |
| Sink and Faucet | Scrub with all-purpose cleaner |
| Shower and Tub | Use a soft-bristle brush |
| Toilet | Apply cleaner, scrub, and rinse |
| Floor | Vacuum, then mop |
Don’t forget to check behind fixtures and in corners. A thorough clean guarantees a welcoming and healthy space for everyone. Your attention to detail makes a real difference!
Bedrooms and Closets
As construction dust settles in bedrooms and closets, it’s essential to tackle these areas effectively to guarantee a clean and inviting atmosphere.
Prioritizing bedroom safety is vital, especially when dust can affect air quality and health. Here’s how to clean these spaces thoroughly:
- Dust Surfaces: Start with a microfiber cloth on shelves, dressers, and baseboards to capture dust without scattering it.
- Vacuum Closets: Use a vacuum with a HEPA filter to remove dust from the floor and inside your closets, ensuring you reach all corners.
- Wash Fabrics: Clean curtains, bedding, and any fabric items in hot water to eliminate lingering dust particles.
These steps will help create a safe, serene environment for you and your loved ones.
Living Rooms
When it comes to cleaning living rooms after construction, you’ll want to focus on a systematic approach to guarantee every surface is dust-free and inviting.
Start by dusting all surfaces, including shelves and side tables, using a microfiber cloth. Pay special attention to your Living Room Decor; these items can trap dust easily.
Next, wipe down electronics with a soft cloth to avoid scratches. For upholstered furniture, vacuum thoroughly, focusing on crevices where dust collects.
Don’t forget to clean light fixtures and ceiling fans, as they often carry dust from construction.
Finally, confirm windowsills and frames are free of debris. This thorough cleaning will create a welcoming space for your family and guests.
Hardwood Floors
To effectively clean hardwood floors after construction, start by sweeping or vacuuming to remove loose dust and debris.
Once you’ve cleared the surface, follow these steps to guarantee proper floor maintenance:
- Damp Mop: Use a microfiber mop with a solution specifically designed for hardwood floors. This helps lift fine dust while protecting the finish.
- Spot Clean: Check for stubborn stains or residue. Use a soft cloth dampened with the hardwood cleaner to gently buff these areas.
- Dry Thoroughly: After mopping, dry the floor with a clean, dry cloth to prevent any moisture damage.
Taking these steps not only keeps your hardwood floor looking pristine but also helps maintain its longevity.
Your efforts will surely be appreciated by everyone who enjoys the space!
Tile and Laminate Flooring
Cleaning tile and laminate flooring after construction can be a straightforward process if you tackle it with the right techniques.
Start by sweeping or vacuuming to remove loose dust and debris, as this prevents scratching during mopping.
Next, use a damp mop with a gentle, pH-balanced cleaner specifically designed for your flooring type. Avoid harsh chemicals that can damage the surface.
For stubborn spots, a soft cloth and a little extra cleaner may do the trick.
Remember to dry the floor thoroughly to prevent slips.
With consistent floor care, you can maintain a beautiful, dust-free space for everyone to enjoy. Your guests and family will appreciate the fresh, clean environment you’ve created!
Walls and Ceilings
Although walls and ceilings often get overlooked during post-construction cleanups, they can accumulate a substantial layer of dust and debris.
For effective dust removal, follow these steps to guarantee a thorough clean:
- Dust First: Use a microfiber cloth or a dusting brush to gently wipe down walls and ceilings, starting from the top and working your way down.
- Vacuum: Utilize a vacuum with a brush attachment to remove any remaining dust, especially in corners and along edges.
- Wash Surfaces: If needed, mix a mild detergent with water and use a damp cloth to clean any stubborn stains or marks, ensuring you dry the surfaces afterward.
Windows, Blinds, and Sills
While windows, blinds, and sills may seem like small details, they can harbor significant amounts of dust and grime after construction. To guarantee a thorough cleaning, follow these steps for effective dust prevention and maintenance.
| Surface | Cleaning Method |
|---|---|
| Windows | Use a microfiber cloth and glass cleaner to wipe down surfaces. |
| Blinds | Dust with a soft cloth or a vacuum attachment, then wipe with a damp cloth. |
| Sills | Sweep away debris, then clean with a damp cloth to remove any remaining dust. |
Regular cleaning keeps these areas dust-free and enhances the overall appearance of your space. By focusing on these often-overlooked surfaces, you show care for your environment and those who enter it.
Air Vents and Filters
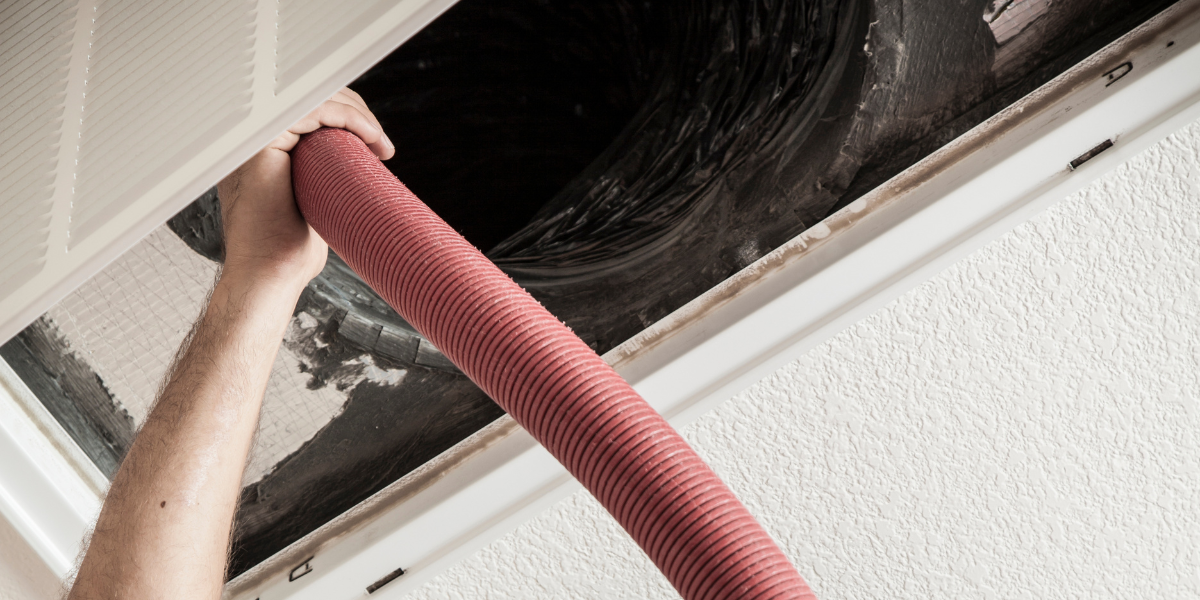
Air vents and filters often get overlooked during post-construction cleaning, but they play an essential role in maintaining air quality.
Dust and debris can accumulate quickly, impacting the health of everyone in your space. Here’s how to keep them clean:
- Turn Off the HVAC System: Always make sure your system is off before starting to avoid dust circulation.
- Remove and Clean Filters: Take out the filters, vacuum them gently, or wash them according to manufacturer instructions. Replace if damaged or excessively dirty.
- Dust Vents: Use a microfiber cloth or a vacuum attachment to clean the vent covers and surrounding areas thoroughly.
Aftercare: How to Keep Dust from Coming Back
To keep dust from returning after your construction cleaning, it’s essential to adopt a proactive approach.
Start by implementing effective dust prevention strategies. Regularly vacuum your space using a vacuum with a HEPA filter to trap fine particles. Consider using doormats at entryways to reduce dirt from shoes. Additionally, maintain air quality by replacing filters in your HVAC system frequently.
You can also invest in an air purifier to further combat dust buildup. Schedule routine cleaning sessions, focusing on high-traffic areas where dust tends to accumulate.
Finally, declutter surfaces to minimize dust traps. By taking these steps, you’ll create a cleaner environment, ensuring your efforts in post-construction cleaning remain effective and your space stays welcoming for everyone.
DIY vs. Hiring a Professional Post-Construction Cleaner
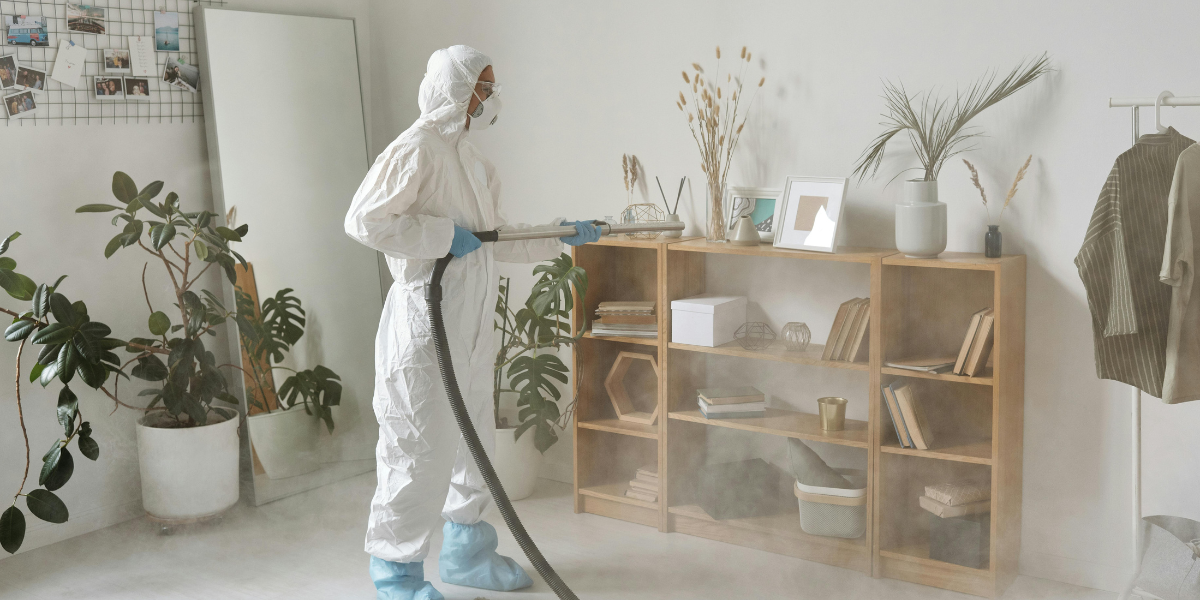
When it comes to post-construction cleaning, you have two main options: tackle it yourself or hire a professional.
While a DIY approach might seem cost-effective, you could miss hidden dust and debris without the right tools and expertise.
Why Choose Tidy Upped for Post-Construction Cleaning?
While tackling post-construction cleaning yourself might seem like a cost-effective option, choosing Tidy Upped guarantees a thorough and efficient job that saves you time and hassle.
Our team is dedicated to creating a clean, welcoming space for you and your loved ones. Here’s why you should consider us:
- Expertise: Our detail-oriented professionals know exactly how to tackle construction dust and debris.
- Eco-Friendly Products: We prioritize safe, sustainable solutions that are healthy for your environment.
- Customer Satisfaction: Don’t just take our word for it—our glowing customer testimonials reflect our commitment to quality and reliability.
Let Tidy Upped handle the dirty work, so you can focus on enjoying your newly renovated space!
FAQs About Cleaning Construction Dust
Conclusion
As you wrap up your construction project, it’s crucial to address the dust and debris left behind to guarantee a clean, welcoming space.
Effective dust control not only enhances your environment but also promotes health and safety for everyone involved.

Leave A Comment